While I was watching Ben-Hur, I was keeping an eye out for the perfect prop to kick-off this 100 Movies, 100 Props project. I wanted something small and easily finish-able to build my confidence in building props on a deadline. That definitely eliminated building a full-size chariot from the climatic race sequence. If you don’t know what I’m talking about, check out last week’s post over here.
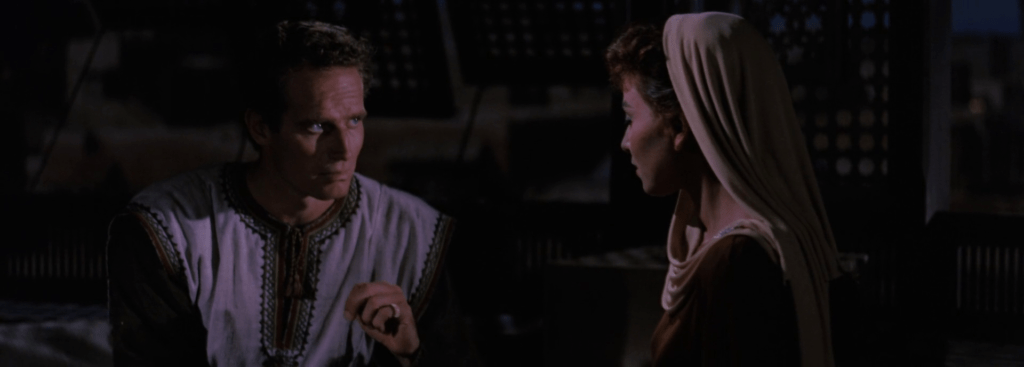
Early on in my viewing experience, one prop in particular caught my eye. In the first act, Judah Ben-Hur receives a ring from a woman named Esther after they inconspicuous declare their love for each other. At first, I saw thing ring and was like “Okay, cool. That’d be small. That’d be doable. But is it too inconsequential to the rest of this epic film?”
And then the ring came into full view again.
And again...

And the more I saw it, the more I thought “Oh boy. We found it!”
So for my first prop on this 100 Movies, 100 Props quest, I made Esther’s Ring from Ben-Hur (1959).
Researching
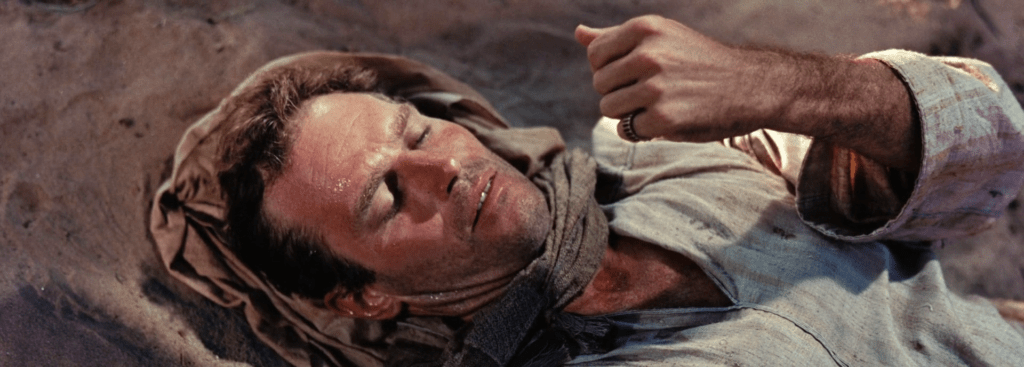
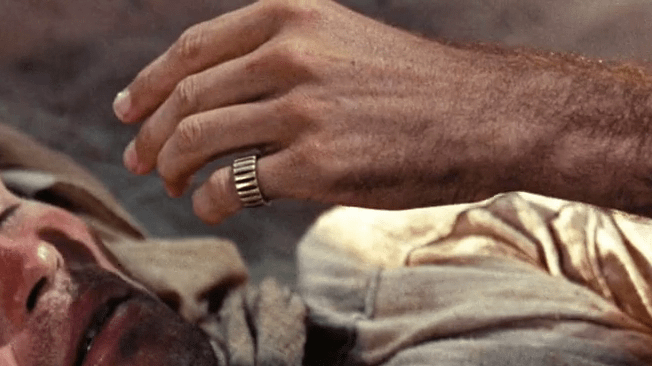
To start out, I needed some reference photos so that I could get a proper idea of what this ring looked like. While there’s a nice shot of the ring when Ben-Hur first receives it, the light was dramatically dark which does not bode well for reference material. So, I started scrubbing through the movie again and came across this gem of a scene.
There’s some pretty good close ups of the ring in this clip that let me get a better guesstimate of the dimensions and design of the ring!
Modeling the Ring

After getting some good reference material, I needed to model the ring. While I’m sure this was hand-crafted back in the day, I’m taking a more modern approach to the design. I pulled up Fusion 360 on my computer and started 3D modeling the ring.
I’m still a novice when it comes to Fusion 360 but with a few hours work, I found out how to stretch the default torus (donut shape) and then carve out the slots that go around the outside of the ring.
For sizing, I modeled the ring off my own hands using calipers to measure my pinky finger since this is the finger that Charlton Heston wore the ring on. The more I looked at his hands, the more I wonder if his hands are huge or if I just have a tiny pinky finger because the difference is pretty stunning.
Bringing the Ring to Life
After I got the shape I wanted and the sizing right, it was time to take this 3D model from the digital world and bring it into the physical one. For that, I’m relying on my hand Elegoo Mars Pro resin 3D printer. It’s the perfect tool for this job because even though the build size is somewhat small for a 3D printer, this ring is also tiny. Resin printers are better for detail work which is exactly what I was prioritizing for this build.
I loaded up my 3D file into the printer and pressed print. After an hour of waiting, out came an exact copy of the ring I designed on my computer.
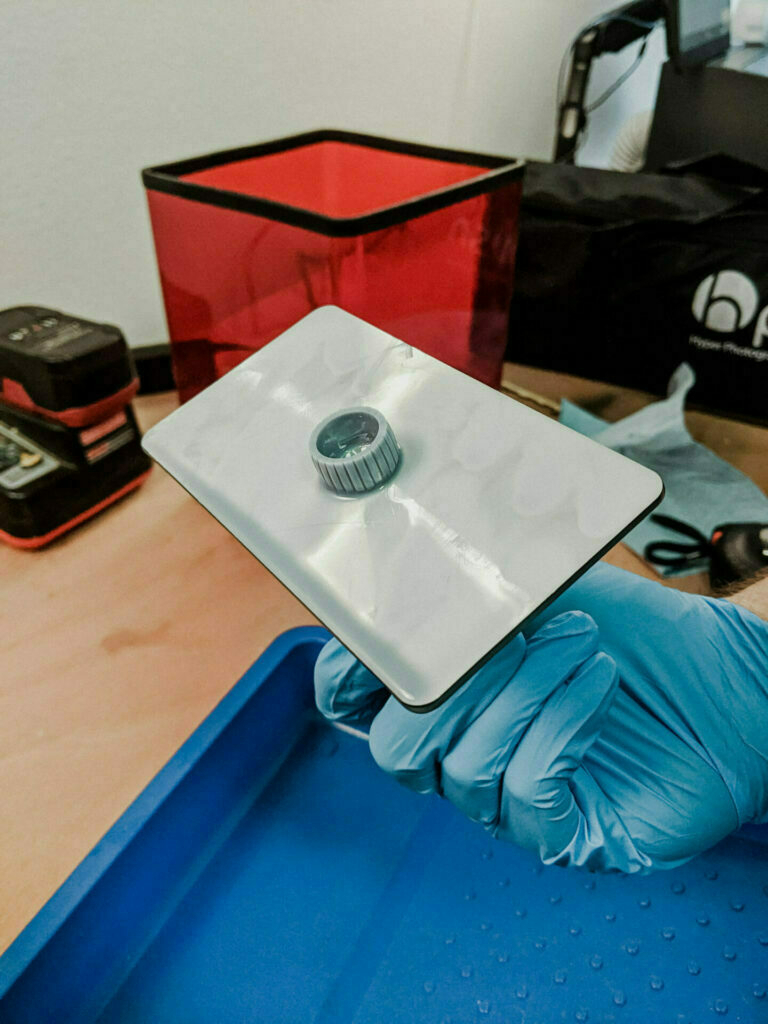
Before washing and curing the resin, you don’t want to touch the model with your bare hands because the resin can cause a severe reaction that really messes up your skin.
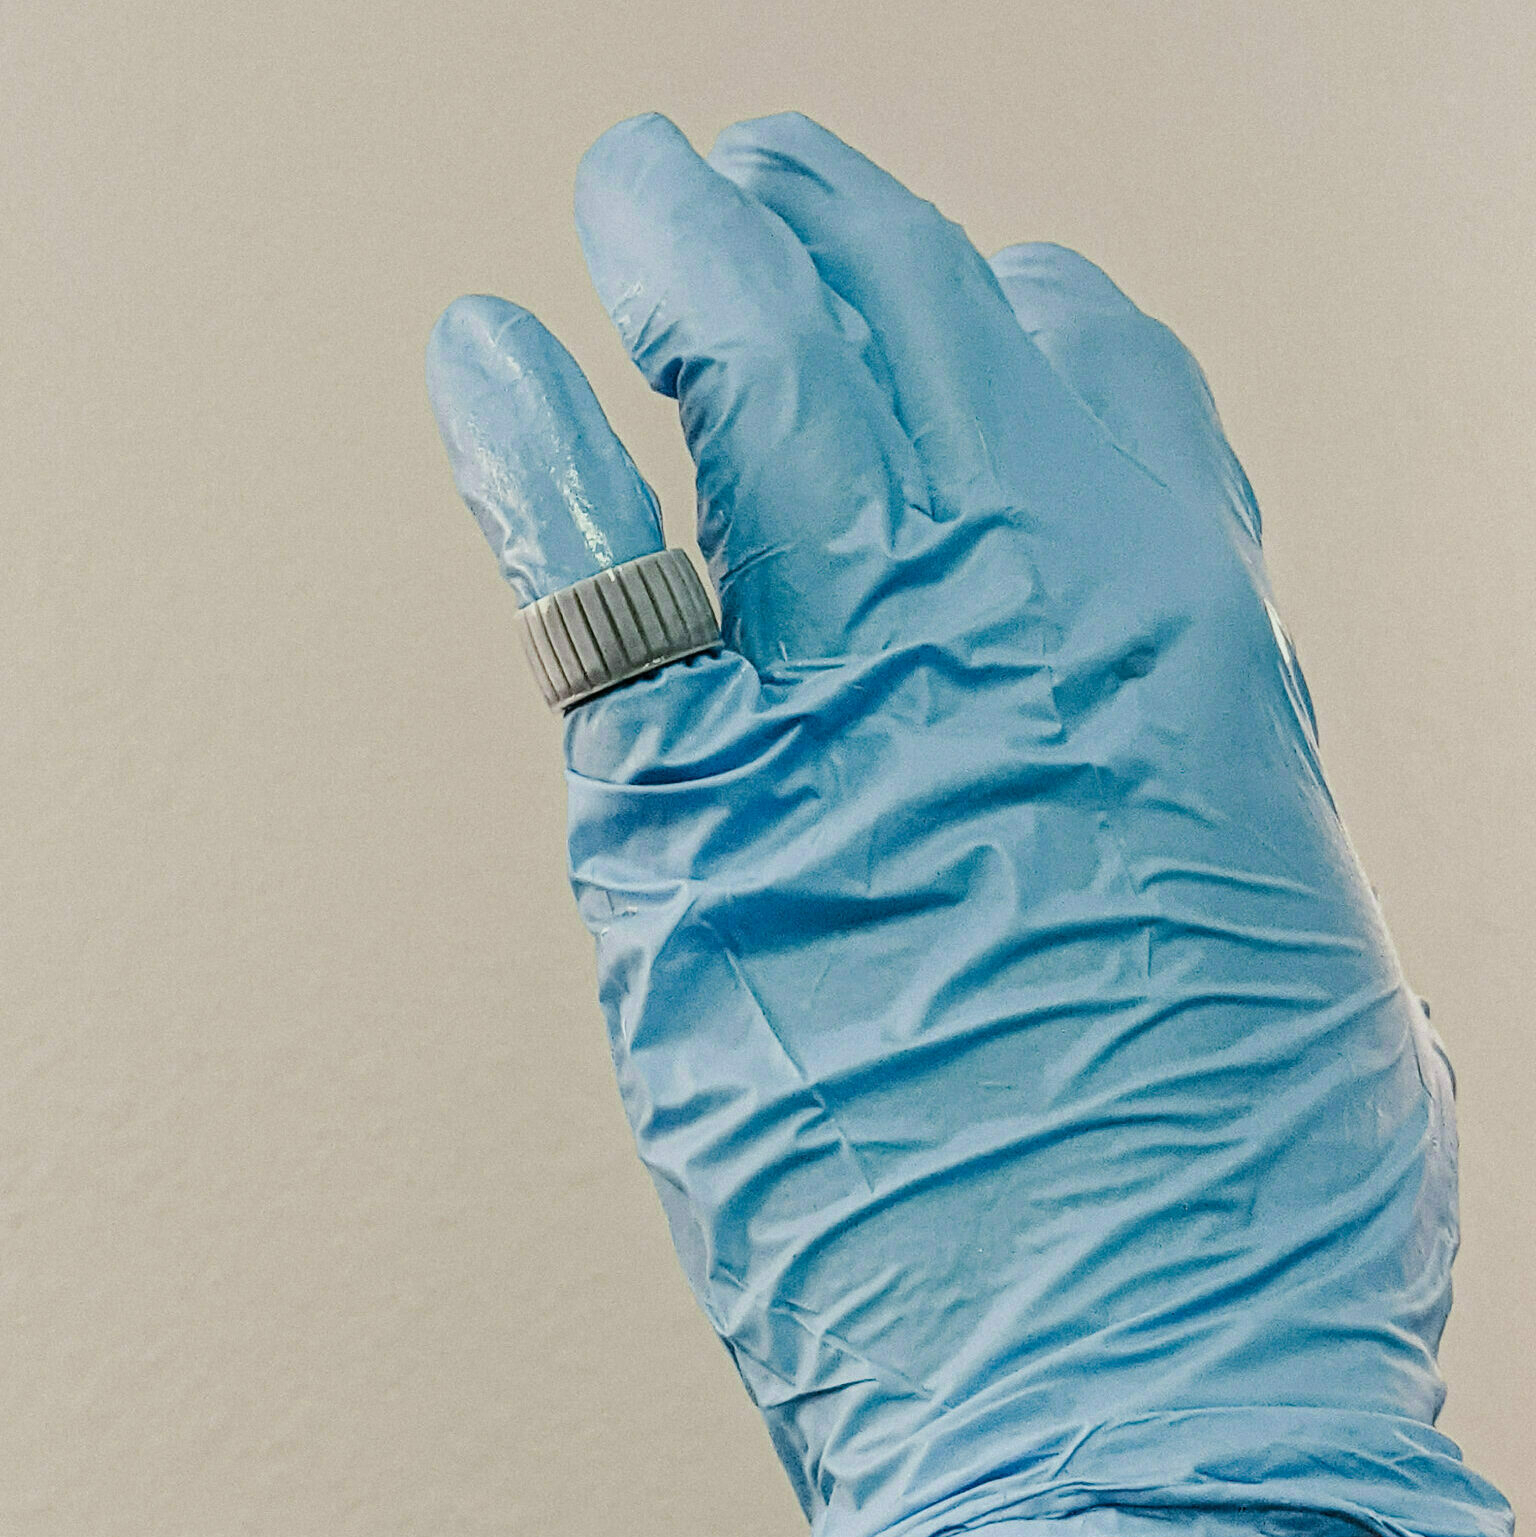
So here, you can see me testing out the right while I’m still wearing my nitric gloves to protect my skin from the uncured ring.
I couldn’t be happier with the result and had to patiently sit by while my makeshift curing box went to work and hardened the resin to let me work on it. One the resin was safe to handle, it was time to get started finishing the ring!
Finishing the Ring
The first thing I had to do was sand off the bottom of the ring that was closest to the build plate on my printer. There was an elephant’s foot which basically means the first few layers of the build had fanned out due to the longer cure time needed to get the model to bind with the build plate. Luckily, the resin is a pretty soft material and after a minute or two of sanding I was able to get rid of this flaw.
Next, I primed the piece with some flat black primer. This helps with a couple of things. First, it will cover up any trace amounts of uncured resin. Second, it helps the metallic paint that I’m using to pop more and provides a paint a surface that is much easier to bind with.

I used a wooden skewer to hold the ring in order to eliminate any fingerprints on the paint job and to keep my hands from getting covered in paint. Spoiler alert: My hands still got filthy.
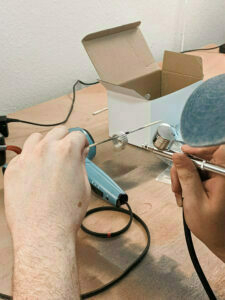
Next up, I fired up my new airbrush that I got on Amazon and started laying down some gold metallic paint.
After some trial and error to get some paint flowing out of the airbrush, I was able to lay down a first coat of gold paint. This is when I realized that the gold I was using would be way too bright, even with the black base coat underneath. So, I tried doing a wash with some black acrylic paint by brushing on the paint and quickly wiping it back off with a rag. While that helped cut down the brightness, I wasn’t really digging how this gold was coming out.
In a closeup of the ring, you can see that the gold almost takes on a silver color when it is in bright sunlight and as I held up my ring to the light in my shop, it wasn’t getting that at all.
This is when I made the call to experiment with adding some other paints that I wasn’t originally planning on using. Worse case scenario, I would just print the ring again and start anew.
I decided to cover the entire ring in some metallic chrome spray paint to hopefully get that base silver shininess that the original ring has. After hitting that with a blow drying and getting it to set, I went back with the gold from my airbrush. I used a light touch with the airbrush and started to get the coloring that I was looking for in the first place: a nice, rich gold that had a white shine in bright light but had the dark impurities of old-fashioned gold at the same time.
I accentuated the ridges in the ring again by doing another black wash with the acrylic paint and I was finally satisfied!
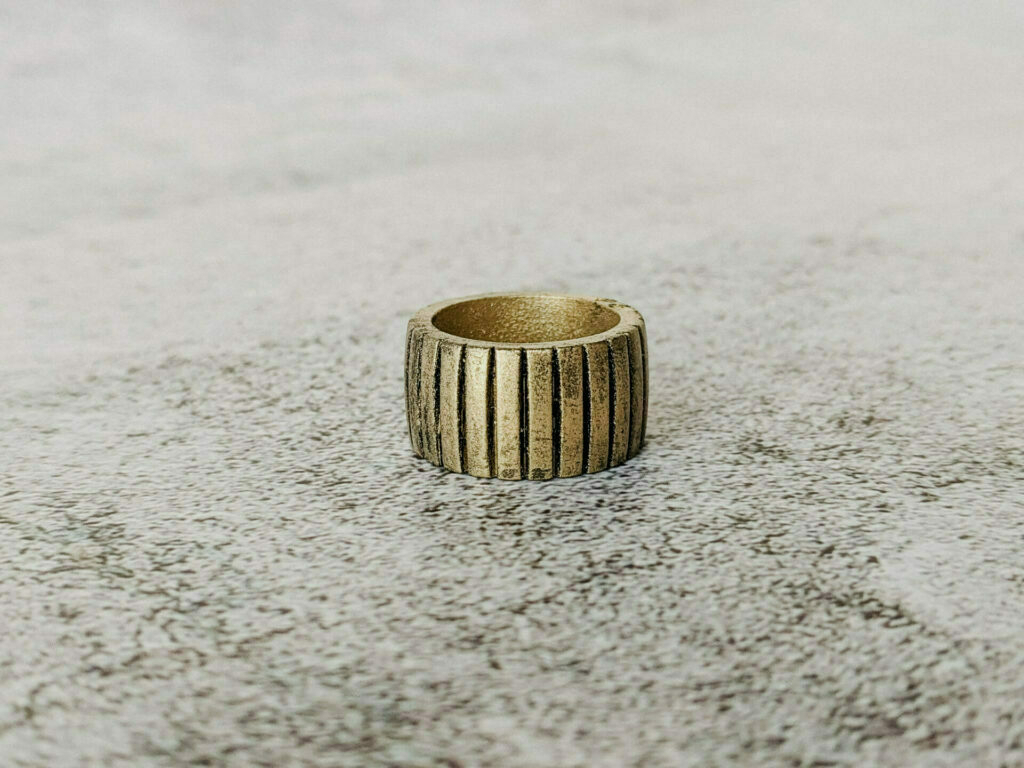
The end result is a ring that fits on my pinky finger similar to how Charlton Heston wore the ring in Ben-Hur. The design is as close as I can get with the limited reference shots I have. And the color is exactly what I wanted out of this gold ring!
The first prop is done!
Let me know in the comments what you think of this first project and if you enjoy the content I’m putting down on this blog! If you have any questions or ideas to share, feel free to leave them down below.
Time to get to the next movie on the list and start the whole process again! In the meantime, feel free to follow me on Instagram to keep up to date with the next steps of 100 Movies, 100 Props! I’ll catch y’all in the next one.